Alien body
After making the alien head we next had to move onto the alien body which we started to make on maya, I choose the dinosaur preset which we then used the quad draw tool on.


Next I mirrored it and it added the other side of the mesh.


With the quad draw tool we could make a low polygon version of our model making it down to the most basic form, here it is alot easier to texture and reform, I then made a tail , , one leg and one arm. Finally I added spikes and a nice gemstone at the tip of the tail.

Here are a few of my attempts to the legs and tail, here I used the knife tool and they were too flat, compared to where I used vertices for my final one. I also did try a wing but it didn't work with
my model.


Next I smoothed the mesh so it fits better with my low poly alien head.

Finally I added my textures to the gem

In conclusion I feel like I could of done a better body with texturing, maybe planning out the head and body as a drawing first. Overall I think it wasn't too bad.
1
Here are some of my screenshots of my alien body being in high poly and low poly and also how I baked my model.
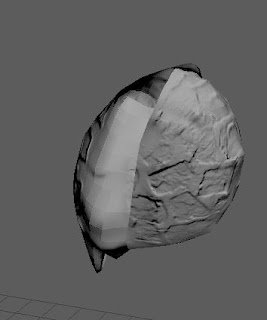
Here I will talk about my alien head for reference of how I baked. Here I have the original high poly wireframe and the low poly wireframe, as you can see I quad drew on the high poly to make it low poly.

This is so I could UV map the low poly because the high poly is impossible too. Next I baked my alien head. I did this by changing too lighting/shading and selecting transfer maps and selecting normal map. Here I selected the high res mesh to be the source and the low res mesh to be the target, which basically means that the low poly will receive the normal map.


Comments
Post a Comment